
Thinking about launching your website but feeling a bit intimidated by the whole web design process? Fear not! With WordPress, even non-techy folks like us can create sleek, professional websites without having to learn how to code. Whether you’re a solopreneur looking to showcase your services, start a blog, or open an online store, WordPress has got your back. In this guide, I’ll walk you through everything you need to know to build your website and make your mark in the digital world.
What is WordPress?
In case you’re not familiar, WordPress is one of the most popular website-building platforms in the world, powering over 40% of websites globally. It’s an open-source platform, which means it’s free to use and has a vast community of developers who are constantly improving and adding to it.
—
What You Need to Start Designing Your Website in WordPress
Before we dive into the actual design process, you’ll need a few essentials to get started. Think of these as your tools for building your website masterpiece.
1. A Domain Name
Your domain is your website’s address, like www.caizee.com. Choosing a good domain is essential—it’s your brand’s first impression. Keep it short, memorable, and ideally relevant to what you do. You can purchase domains from places like Namecheap, Google Domains, or Bluehost.
2. Web Hosting
Once you’ve got your domain, you’ll need web hosting. Hosting is where your website lives on the internet. It stores all your website’s files and makes them accessible to visitors. Some popular web hosting providers include SiteGround (my favorite!), Bluehost, and HostGator. Many of these companies even offer one-click WordPress installations, which makes life easier for you.
Here is a SiteGround tutorial. It’s long but it’s all you need to start using SiteGround.
3. A WordPress Theme
Themes are like the clothes your website wears. They determine how it looks and feels. WordPress offers thousands of free and paid themes that you can use to create any style of website, from blogs to e-commerce stores. When choosing a theme, make sure it’s responsive (works well on mobile devices) and fits your brand’s vibe.
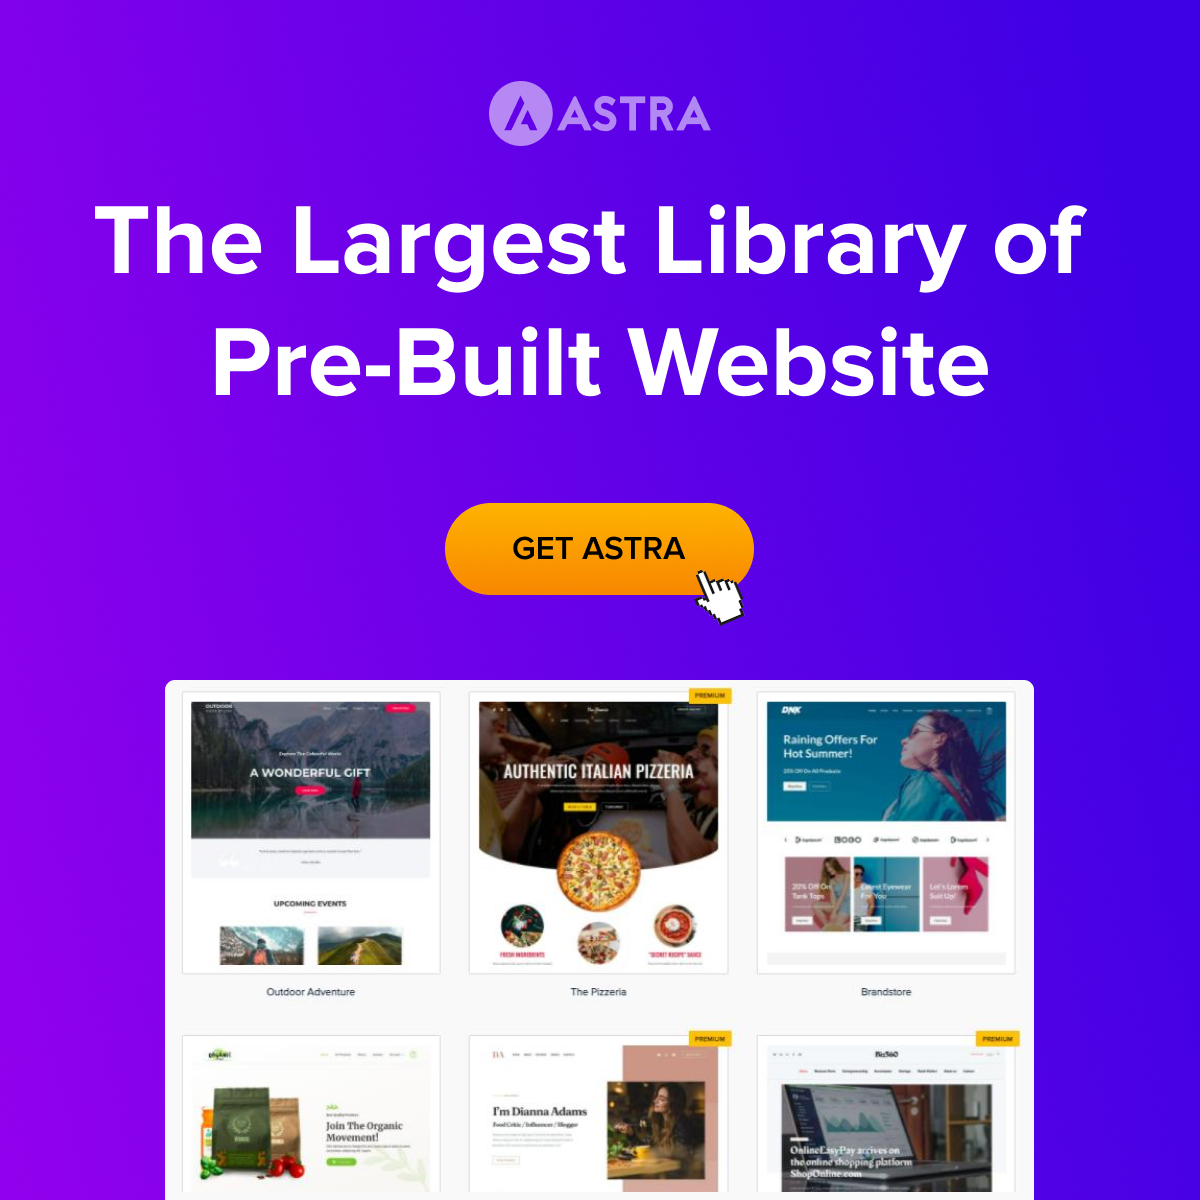
Astra is my favorite theme. It’s free and it’s the most popular WordPress theme on wordpress.org with more than 1 million downloads. https://wordpress.org/themes/astra/
4. Essential Plugins
Plugins are the secret sauce of WordPress—they add all sorts of extra features and functionalities to your site without needing to code. Whether you want to optimize for SEO, add a contact form, or improve site security, there’s a plugin for that. Some must-have plugins include:
– Rank Math SEO (3+ millions downloads from wordpress.org – helps your site rank better on Google)
– Ninja Tables (organize data in all kinds of table formats and insert them into your posts)
– Wordfence (5+ million downloads from wordpress.org – great for security)
As you continue building your website, you’ll likely add more plugins. Just make sure to only install the ones that are absolutely essential. Too many plugins can make site maintenance more complicated and could even slow down your website’s performance. Keep it lean for a smoother experience!
5. Basic Content (Copy and Images)
Before you jump into designing, it’s a good idea to have your basic content ready—things like your logo, homepage copy, and any images or product descriptions you might need. You don’t need to have everything perfect, but having the basics will make the design process smoother.
Here are some great free resources you can use to create logos and download free pictures:
For Logo Creation:
1. Canva
– Canva offers a free tool to design logos with customizable templates. You can create your own unique logo even without graphic design experience.
2. Logo.com
– A free logo maker tool that allows you to design and download professional-looking logos without any cost.
3. Looka (Free version)
– Looka is an AI-based logo design tool that helps you create logos in minutes. The free version allows you to design, but you may need to pay to get higher resolution versions.
4. Ucraft Logo Maker
– Ucraft offers a free and easy-to-use logo maker with hundreds of free icons and shapes to choose from. You can download PNG versions for free.
For Free Pictures:
1. Unsplash
– A popular platform with a vast collection of high-quality, free stock images that you can download and use for any project.
2. Pexels
– Offers thousands of free, high-resolution photos and videos for personal and commercial use.
3. Pixabay
– Pixabay provides over a million free images and videos that can be used without attribution.
4. Freepik (Free version)
– Freepik offers a huge variety of free images, vectors, and illustrations, with a section dedicated to free downloads.
These resources are great for solopreneurs or small businesses looking to keep their design budget low while still producing high-quality visual assets.
—
Step-by-Step Guide to Designing Your WordPress Website
Ready to get started? Let’s break it down, step by step.
Step 1: Get a Domain and Web Hosting
The first thing you need is to secure your domain name and hosting service. I recommend choosing a provider that offers a one-click WordPress installation feature. Bluehost, for example, is beginner-friendly and even offers free domain registration with their hosting plans. Once you’ve signed up and chosen your domain name, you’re ready to install WordPress.
Step 2: Install WordPress
Most hosting providers make this step super easy with one-click WordPress installations. Once installed, you can log into your WordPress dashboard. You’ll find this at www.yourwebsite.com/wp-admin—this is where you’ll manage everything about your website, from design to content.
Step 3: Choose a Theme
Now comes the fun part! In your WordPress dashboard, go to Appearance > Themes. You can search through free WordPress themes here, or if you want something more professional, you can purchase premium themes from marketplaces like ThemeForest or Elegant Themes. Install the one you like, and then click Activate to apply it to your website.
Keep in mind, the theme you pick will set the tone for your entire site. If you’re going for a minimalist blog look, choose a clean, simple theme. If you’re creating an online store, opt for a theme designed for e-commerce.
Step 4: Customize Your Theme
After choosing a theme, you’ll want to customize it to make it uniquely yours. Head over to Appearance > Customize in your WordPress dashboard. Depending on your theme, you’ll be able to tweak colors, fonts, and layout. Some themes come with built-in customization tools, while others might require a little more manual tweaking.
If your theme doesn’t offer the flexibility you need, I recommend using a drag-and-drop page builder like Elementor. It’s user-friendly and makes designing custom pages a breeze, even if you’re a complete beginner.
Step 5: Install Plugins
Next, it’s time to add some functionality to your website with plugins. Go to Plugins > Add New and search for the ones you need. Here are a few you should consider installing right off the bat:
– Rank Math SEO (3+ millions downloads from wordpress.org – helps your site rank better on Google)
– Ninja Tables (organize data in all kinds of table formats and insert them into your posts)
– Wordfence (5+ million downloads from wordpress.org – great for security)
Step 6: Create Essential Pages
Now that your website’s skeleton is in place, it’s time to add content. Start by creating some essential pages, such as:
– Home Page: This is your visitors’ first impression. Make it welcoming and clear about what you offer.
– About Page: Tell your story—what’s your business all about, and why should people care?
– Contact Page: Make it easy for visitors to get in touch with you. Add a contact form using a plugin like WPForms.
– Blog Page: If you plan on creating regular content (which is a great idea for SEO), you’ll need a blog page to host your posts.
To create a new page, go to Pages > Add New in your dashboard. Add your content, hit Publish, and you’re live!
Once your essential pages are created, you’ll want to make sure people can easily navigate through your website. Head to Appearance > Menus and create a navigation menu. Drag and drop your pages into the order you want them to appear and assign the menu to your site’s main navigation bar.
Step 8: Add Content
Now comes the meat of your website—content! Whether it’s blog posts, service descriptions, or product listings, adding valuable content is key to engaging your audience. You can use the built-in WordPress editor to write and format your content or use Elementor for more control over the layout.
Pro tip: High-quality images make a big difference. Use royalty-free image sites like Unsplash or Pexels to find professional-looking photos for your website.
Step 9: Optimize for SEO
If you want your website to rank on Google (and who doesn’t?), you’ll need to optimize it for SEO. Luckily, the Yoast SEO plugin makes this easy. It provides on-page tips for improving SEO, like where to place keywords and how to improve readability. Follow its suggestions to boost your chances of ranking high on search engines.
—
A Few Pro Tips for Designing a Successful WordPress Website
– Choose a Responsive Theme: Make sure your website looks good on all devices, especially mobile. Most WordPress themes are mobile-responsive, but it’s worth double-checking before you commit to one.
– Keep It Simple: Don’t go overboard with plugins or fancy design elements. A cluttered website can overwhelm visitors, so aim for a clean and easy-to-navigate layout.
– Back It Up: Websites crash. It happens. Use a plugin like UpdraftPlus to back up your site regularly, so you never lose your hard work.
– Test Before You Launch: Make sure to preview your website on different browsers and devices before you go live. This ensures everything looks good and functions properly.
—
Learning More About WordPress
If you’re feeling overwhelmed, don’t worry! There are tons of free resources available to help you get better at WordPress. Here are a few places to check out:
– WPBeginner (https://www.wpbeginner.com/): A comprehensive resource for WordPress newbies.
– Elementor Academy (https://elementor.com/academy/): Learn how to use the Elementor page builder to create custom pages easily.
—
Final Thoughts: You Got This!
Building a website with WordPress isn’t as scary as it seems, even if you’re not super tech-savvy. With just a few tools—your domain, hosting, theme, plugins, and some great content—you can have a functional, beautiful website up and running in no time. Plus, WordPress is a skill that keeps on giving. As you get more familiar with the platform, you’ll find even more ways to customize, grow, and optimize your website.
Sure, there will be a few bumps along the way—WordPress can feel like a bit of a jungle when you’re first starting out. But stick with it! The more you play around and experiment, the more comfortable you’ll become, and soon enough, you’ll be a WordPress pro.
—
Where to Go from Here?
Ready to get started on your website? Dive in! WordPress has a bit of a learning curve, but once you get the hang of it, it’s incredibly powerful and flexible for solopreneurs. The best part? You don’t need to be a developer to make it happen. With a little bit of patience, a few tutorials, and some creativity, you can create a website that truly reflects your brand and your vision.
And hey, if all else fails, you can always search for “how to do [insert anything] in WordPress” on YouTube. There’s always a tutorial out there waiting to help you!
Happy designing!
Here is a video tutorial on how to build a website in WordPress from scratch. It’s long but it’s really good!
